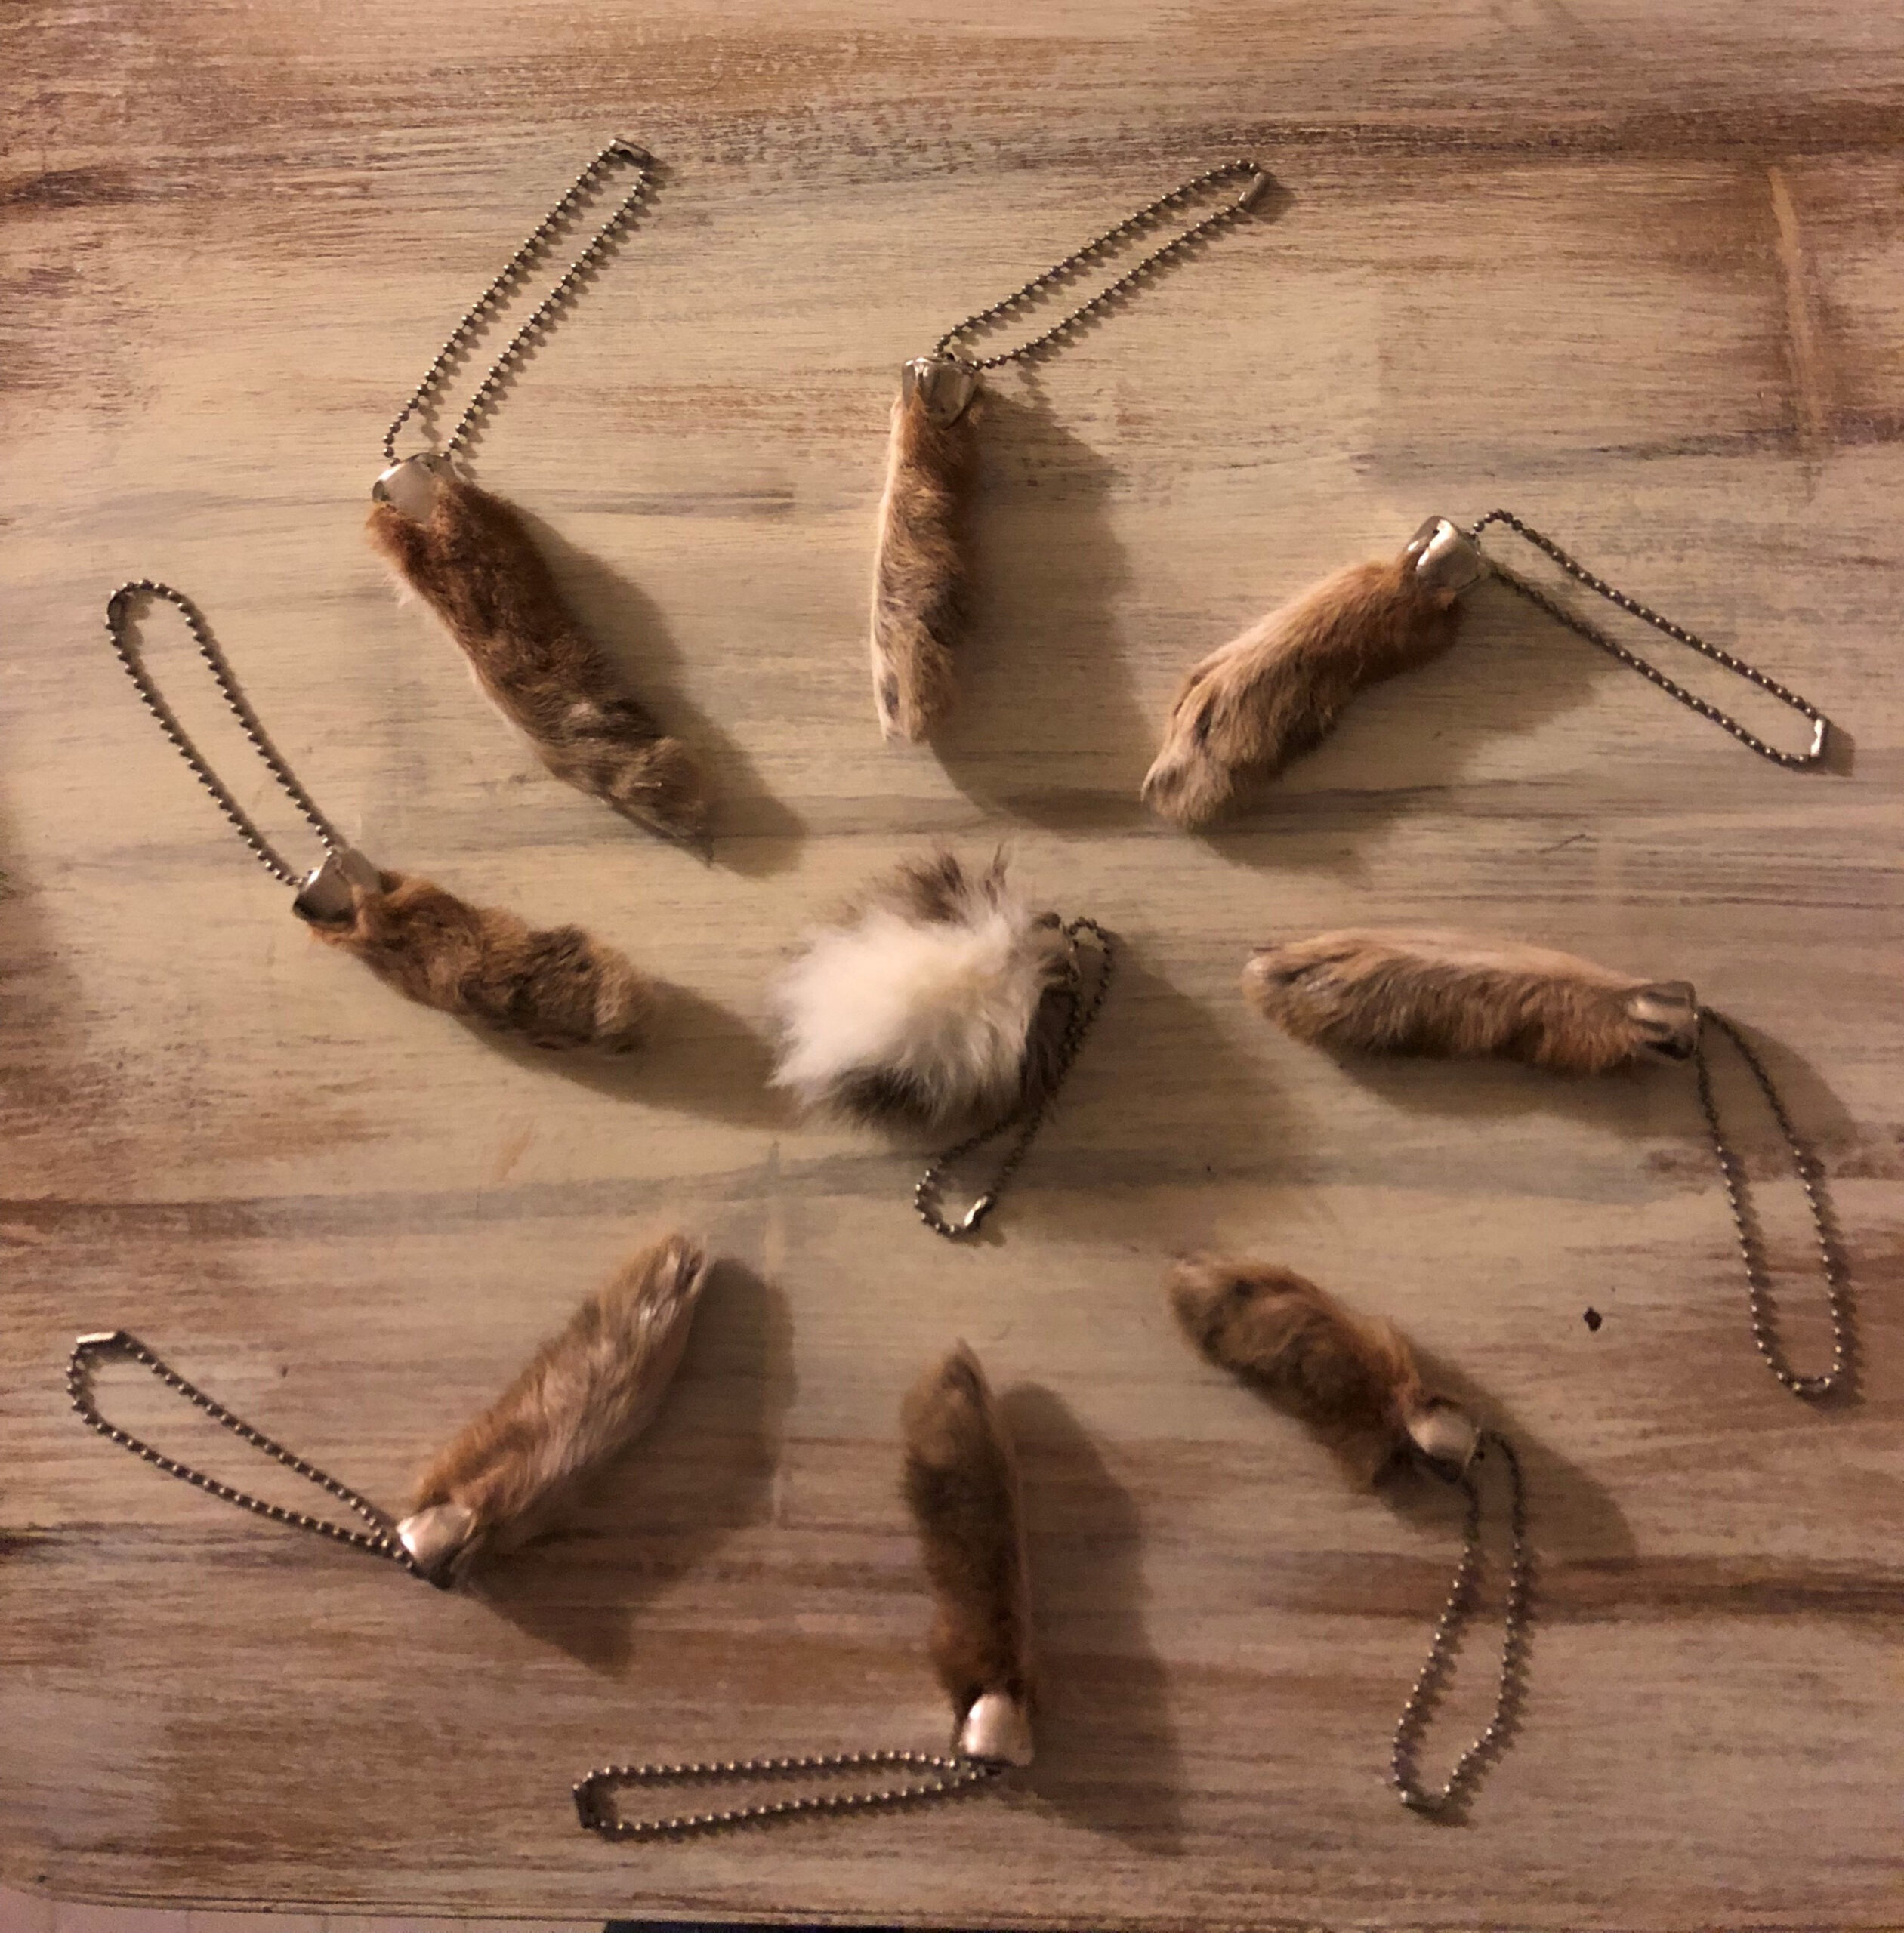
How to Preserve a Rabbit Foot
Preserving a rabbit foot can be a unique and intriguing way to remember a cherished pet or create a talisman for good luck. Whether you are a hunter, a pet owner, or simply someone who appreciates the beauty of nature, preserving a rabbit foot can be a rewarding experience. In this article, we will guide you through the steps of preserving a rabbit foot using various methods to ensure its longevity.

Tools and Materials
Before beginning the preservation process, gather the following tools and materials:
- A freshly severed rabbit foot
- Sharp scissors or a knife
- Disposable gloves
- Salt
- Borax
- Airtight container
- Antiseptic solution or rubbing alcohol
- Wire or string
- Optional: tanning solution or leather conditioner
Once you have these items ready, you can proceed with preserving the rabbit foot.
Step 1: Cleaning the Foot
Put on your disposable gloves to protect your hands from bacteria or parasites. Use sharp scissors or a knife to remove any excess fur or tissue from the foot. Be careful not to damage the bones or joints of the foot as you clean it.
Tip: It is best to clean the foot as soon as possible after it has been severed to prevent decay.
Step 2: Salting the Foot
To preserve the rabbit foot, you will need to use salt. Generously sprinkle salt over the foot, making sure to cover all areas. The salt will draw out moisture and help prevent bacterial growth.
Once the foot is fully covered in salt, place it in an airtight container. Leave it in the container for about a week to allow the salt to work its magic. During this time, it is essential to keep the container in a cool and dry place.
Step 3: Removing Excess Salt
After a week, remove the rabbit foot from the salt-filled container. Brush off any excess salt using a soft brush or cloth. Be gentle to avoid damaging the foot.
Step 4: Applying Borax
Now it’s time to use borax, a natural mineral often used in taxidermy. Sprinkle a generous amount of borax onto the rabbit foot, making sure to coat all areas. Borax acts as a desiccant, further drying out the foot and preventing decay.
Place the foot back into the airtight container and leave it for another week. This extra time will ensure that all moisture is removed from the foot.
Step 5: Final Touches and Preservation
After the foot has spent another week in the container, remove it and gently shake off any excess borax. Use a wire or string to hang the foot in a dry and well-ventilated area. Avoid exposing it to direct sunlight, as this can cause discoloration.
If desired, you can apply a tanning solution or leather conditioner to the foot. This step is optional but can enhance the appearance and longevity of the preserved foot.
FAQs
How long will a preserved rabbit foot last?
When properly preserved, a rabbit foot can last for many years, even decades. However, it is essential to store it in a dry and cool environment to prevent decay.
Can I preserve a rabbit foot without using salt and borax?
Salt and borax are the most commonly used methods for preserving a rabbit foot. However, there are alternative methods such as freeze-drying or using a commercial taxidermy preservation kit.
Can I preserve a rabbit foot from a pet rabbit?
Yes, you can preserve a rabbit foot from a pet rabbit. Just ensure that it is legally allowed in your area and that the rabbit has died of natural causes.
Can I preserve a rabbit foot using a different animal preservation method?
While the methods discussed in this article specifically focus on preserving a rabbit foot, many of the techniques can be applied to preserving other animal parts as well. However, it is essential to research specific preservation methods for different animals to ensure optimal results.
Remember, preserving a rabbit foot requires patience and attention to detail. By following these steps, you can create a lasting memento or a unique piece of decor.
Related Articles…
Copyright Notice:
The images displayed here are sourced from the internet, with copyrights held by respective owners. For removal of any copyrighted image, please email us.