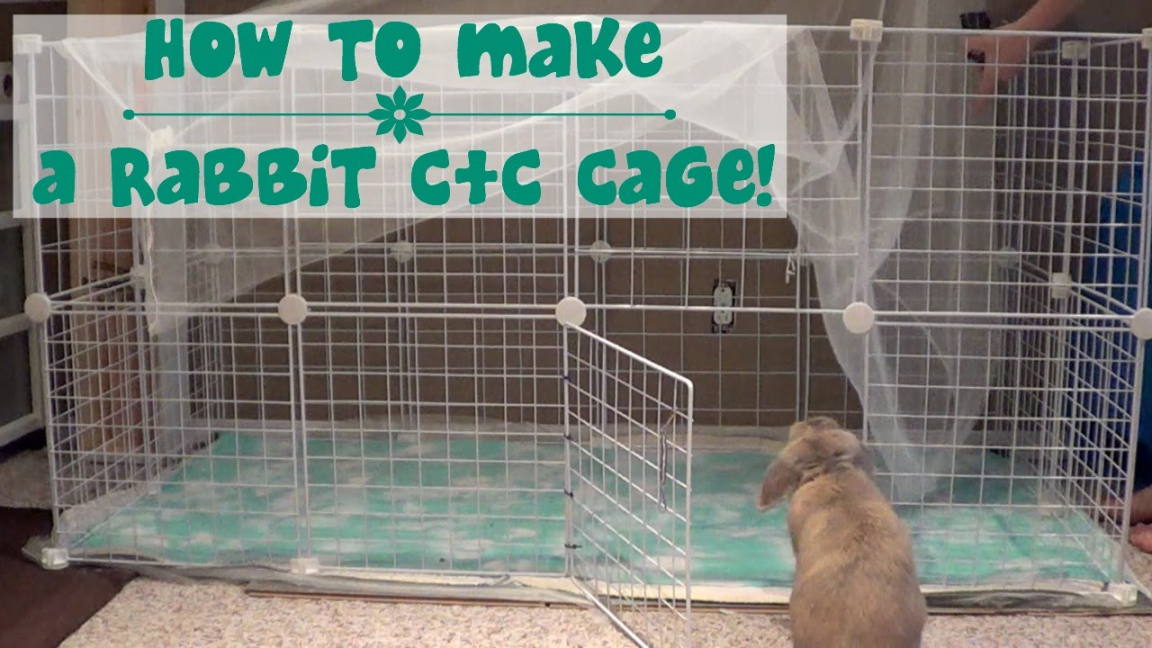
How to Make a Homemade Rabbit Cage
Rabbits make wonderful pets, and providing them with a comfortable and safe living space is essential for their well-being. If you’re considering getting a rabbit or already have one, you might be interested in creating a homemade rabbit cage. Building your own cage not only allows you to customize the size and design but can also be a fun and rewarding project. Here are some steps to help you create a homemade rabbit cage:

Materials Needed
- Wire mesh
- Wooden planks or plywood
- Wire cutter or pliers
- Screws or nails
- Drill or hammer
- Hinges
- Latches
- Sandpaper
- Staple gun
- Measuring tape
- Marker
Step 1: Plan and Measure
Before you start building the rabbit cage, it’s important to plan out the dimensions and design. Consider the size of your rabbit and how much space it will need to move around comfortably. Measure the area where you plan to place the cage and determine the appropriate dimensions.
Step 2: Frame Construction
Start by constructing the frame of the rabbit cage using wooden planks or plywood. Cut the pieces according to the measurements you planned earlier using a saw. Attach the pieces together using screws or nails to form a rectangular or square shape. Make sure the frame is sturdy and secure.
Step 3: Wire Mesh Installation
Once the frame is complete, it’s time to install the wire mesh. Measure the dimensions of the sides of the frame and cut the wire mesh accordingly using a wire cutter or pliers. Attach the wire mesh to the frame using a staple gun, ensuring that it is securely fastened. This will prevent your rabbit from escaping and protect it from any potential predators.
Step 4: Door Installation
Next, you’ll need to create a door for easy access to the rabbit cage. Choose one side of the frame to serve as the door and cut out a rectangular space using a saw. Attach hinges to the frame and the door, allowing it to swing open and close smoothly. Install a latch to keep the door securely closed.
Step 5: Finishing Touches
Once the main structure of the rabbit cage is complete, take some sandpaper and smooth out any rough edges or splinters to ensure the safety of your rabbit. You can also add additional features such as a removable tray for easy cleaning or a nesting box for your rabbit’s comfort. Be creative and add any personal touches you desire.
Building your own rabbit cage can be a rewarding experience that allows you to provide a safe and comfortable home for your furry friend.
Frequently Asked Questions
1. How big should a homemade rabbit cage be?
A homemade rabbit cage should be at least four times the size of your rabbit, with enough space for it to stand up fully and stretch out comfortably. Consider the breed and size of your rabbit when determining the cage dimensions.
2. What type of wire mesh should I use?
It is recommended to use a wire mesh with small enough gaps to prevent your rabbit from escaping or getting its head stuck. A mesh with 1/2 inch or 1-inch holes is usually suitable.
3. How often should I clean the rabbit cage?
It’s important to clean the rabbit cage regularly to maintain a hygienic environment for your pet. Spot clean daily by removing any soiled bedding or waste. Perform a deep clean at least once a week by removing all bedding, washing the cage with mild soap and water, and replacing with fresh bedding.
4. Can I keep multiple rabbits in a homemade cage?
Yes, you can keep multiple rabbits in a homemade cage as long as it is spacious enough to accommodate them comfortably. Ensure that each rabbit has enough space to move around and establish their territories within the cage.
Creating a homemade rabbit cage can be a fun and rewarding project that benefits both you and your furry companion. By following these steps, you’ll be able to provide a safe and comfortable living space for your rabbit while enjoying the satisfaction of creating something with your own hands.
Related Articles…
Copyright Notice:
The images displayed here are sourced from the internet, with copyrights held by respective owners. For removal of any copyrighted image, please email us.