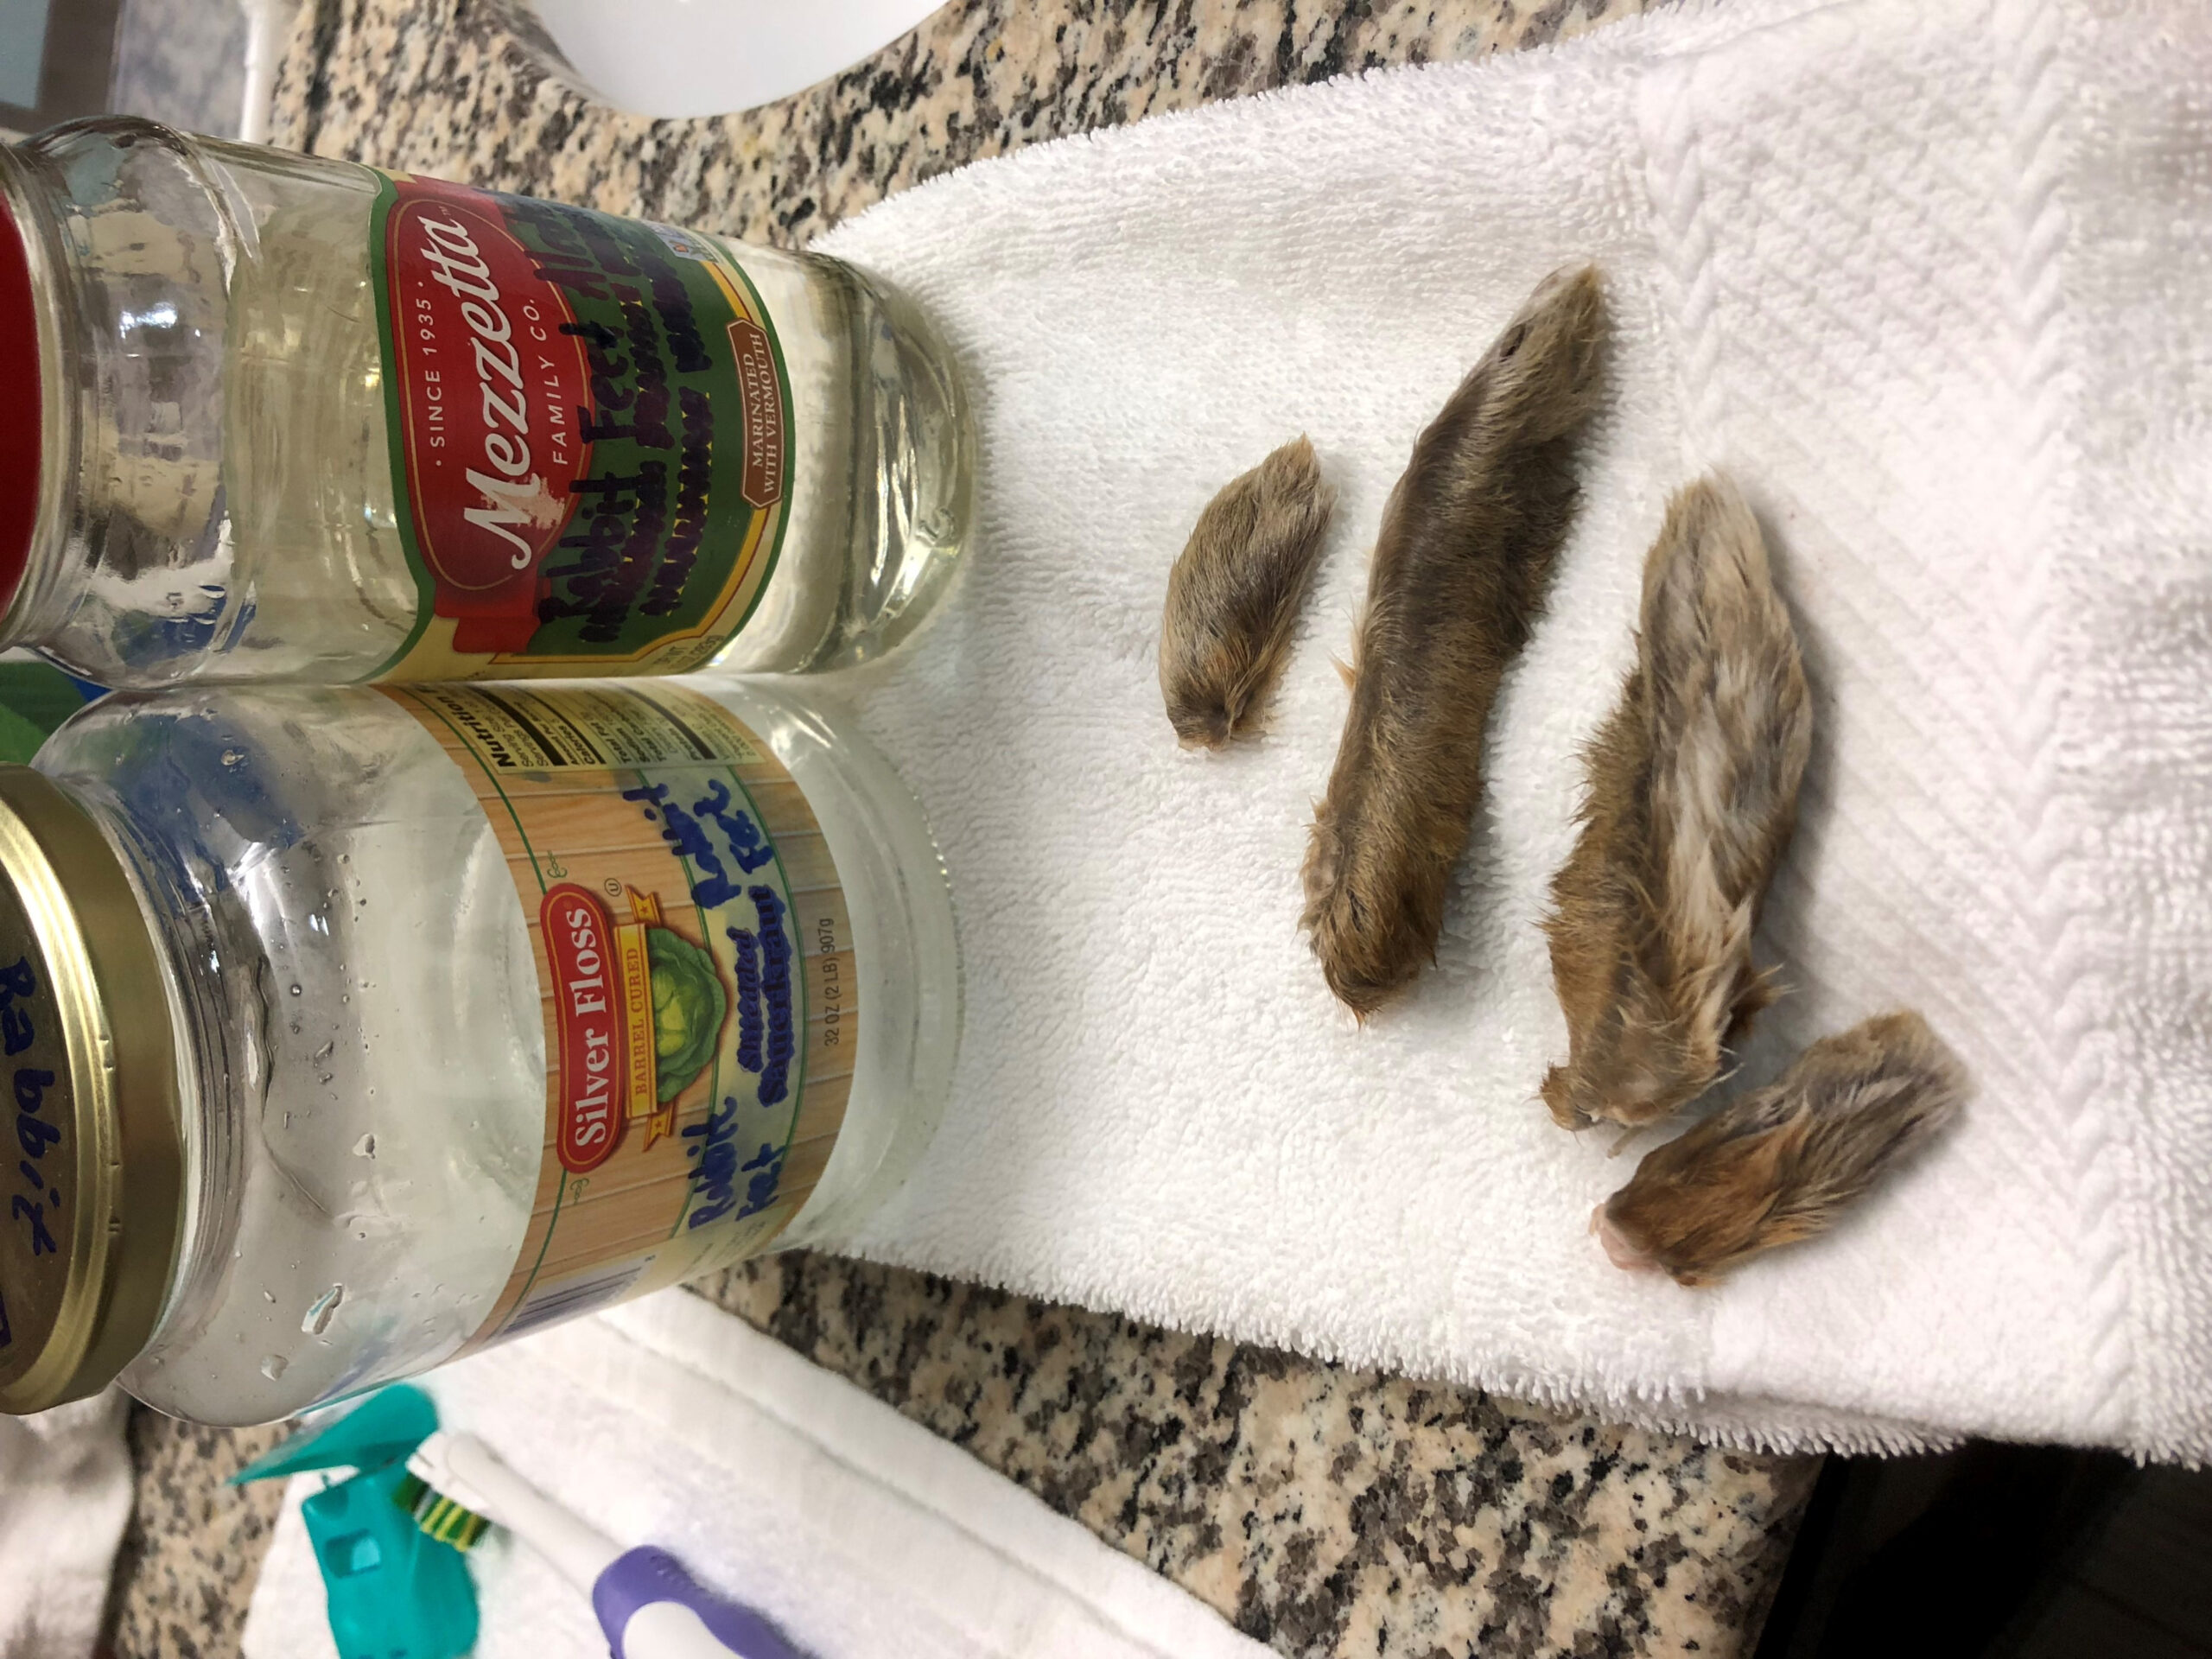
How to Cure a Rabbit Foot With Salt?
Gathering the necessary materials
Before attempting to cure a rabbit’s foot with salt, it is important to gather all the necessary materials. These include:
- A fresh rabbit foot
- Non-iodized salt
- A container with a lid
- Paper towels
- A knife or scissors

Preparing the rabbit foot
Once you have gathered all the materials, follow these steps to prepare the rabbit foot for curing:
- Begin by removing any excess dirt or debris from the foot.
- Using a knife or scissors, carefully separate the fur from the skin of the foot, taking care not to cut too deeply.
- Once the fur is separated, gently scrape off any remaining flesh or tissue from the foot.
- Rinse the foot with cold water to remove any remaining debris.
- Pat the foot dry with paper towels.
Curing the rabbit foot
Now that the rabbit foot is prepared, you can proceed with the curing process using salt:
Note: It is important to use non-iodized salt for curing, as iodized salt can cause discoloration and affect the final result.
- Generously coat the bottom of the container with a layer of non-iodized salt.
- Place the rabbit foot on top of the salt, ensuring it is completely covered.
- Continue covering the foot with salt until it is completely buried.
- Seal the container with the lid, making sure it is airtight.
- Store the container in a cool, dry place away from direct sunlight.
- Leave the foot to cure for at least two weeks. The longer you leave it, the more thoroughly it will cure.
Finishing touches
After the curing process is complete, you can add some finishing touches to the rabbit foot:
- Remove the foot from the container and gently brush off any excess salt.
- Rinse the foot with cold water to remove any remaining salt.
- Pat the foot dry with paper towels.
- If desired, you can apply a small amount of clear varnish to the foot to give it a glossy finish.
FAQs (Frequently Asked Questions)
1. Is it necessary to use non-iodized salt for curing a rabbit foot?
Yes, it is important to use non-iodized salt for curing a rabbit foot. Iodized salt can cause discoloration and affect the final result.
2. How long does the curing process take?
The curing process typically takes at least two weeks. However, for a more thorough cure, you can leave the foot in the salt for a longer period of time.
3. Can I speed up the curing process?
It is not recommended to speed up the curing process, as it may affect the quality of the final result. It is best to allow the foot to cure naturally for the best outcome.
4. Can I reuse the salt after curing a rabbit foot?
After curing a rabbit foot, the salt will absorb moisture and may not be suitable for reuse. It is best to discard the salt and use fresh salt for future curing projects.
Related Articles…
Copyright Notice:
The images displayed here are sourced from the internet, with copyrights held by respective owners. For removal of any copyrighted image, please email us.